

One of the most common subjects I get asked about on the blog or Instagram is photography. More specifically how I edit photos and what camera gear is used. I have wanted to write this post for some time, but it always felt daunting to me to break it down. In the world of social media people are often looking for a filter or one stop pre set to apply to a photo, but it is so much more complex than that. I am by no means a professional photographer and I really just honed my editing skill set over the past few years. As many of you know I shoot most of my work with my good friend and incredibly talented photographer Torrey Fox.
I started my blog around the same time she set off to do her photography business full time, so I have worked with her on pretty much everything from the beginning. At this point we have such a short hand and she knows exactly what I want before I even ask for it which makes my life so much easier!
Her photo and editing style is stunning so I work with Torrey on larger brand collaborations and day to day blog posts. I take all of my travel photos, a lot of the around my apartment photos and my little shots for Instagram stories. I love taking photos and editing, but in order to keep things super consistent working with Torrey is wonderful and I am definitely still learning. Last time she was over we sat down to break down her approach to photography and some helpful tips to get you started!
Where To Start
The most important thing to do before investing a lot of money into photography equipment is to think about what you are going to use it for. You want to seek out pieces that are the best fit for your needs whether that be travel (might want something more lightweight) or lifestyle. You don’t need the top of the line gear to take beautiful photos, so unless you know what you are doing settings wise I always recommend starting with something a little less expensive to really learn the ropes. This is what we use;
Torrey: Canon 5D Mark IV with a 35mm 1.4 lens, for close up detail shots and portraits she uses the same body with a 50mm 1.4 lens.
Chrissy: I wasn’t ready to invest in the Mark IV so I went with the Canon 6D Mark II with a 35mm 1.4 lens. I love this set up so much for the cost and it does the trick at taking crisp interior shots and stunning travel photos, although it is heavy to travel with.
Getting the Photos Right In Camera
One of the best things I learned from Torrey is to get your photos right in camera. Editing is not a complete miracle worker and if you want light and bright photos, but are shooting in dark low lighting it will never look right. You want to get to know your camera settings and shoot in manual for best results.
Torrey: Start with the aperture and then determine the shutter speed. For close up shots I set the aperture around 2.8 – 3.2 and on wider shots around 4.5. You want to start with a lower ISO (this controls the darkness/brightness of the photo) and don’t want it to go above 2500. Unless you are shooting with a tripod never let your shutter speed go below 125 or you will get blurry shots.
Using a diffuser and white bounce will help to eliminate shadows and make your photos more even. If you are at the beginning stages even something like a white poster board will work. If you are planning to take a lot of interior photos, it is important to know the best time of day in your particular space and plan all your shoots to be around that time of day. Torrey and I mainly shoot within the same one hour time window to give a consistency to all photos, but the lighting can always look different especially in the winter.


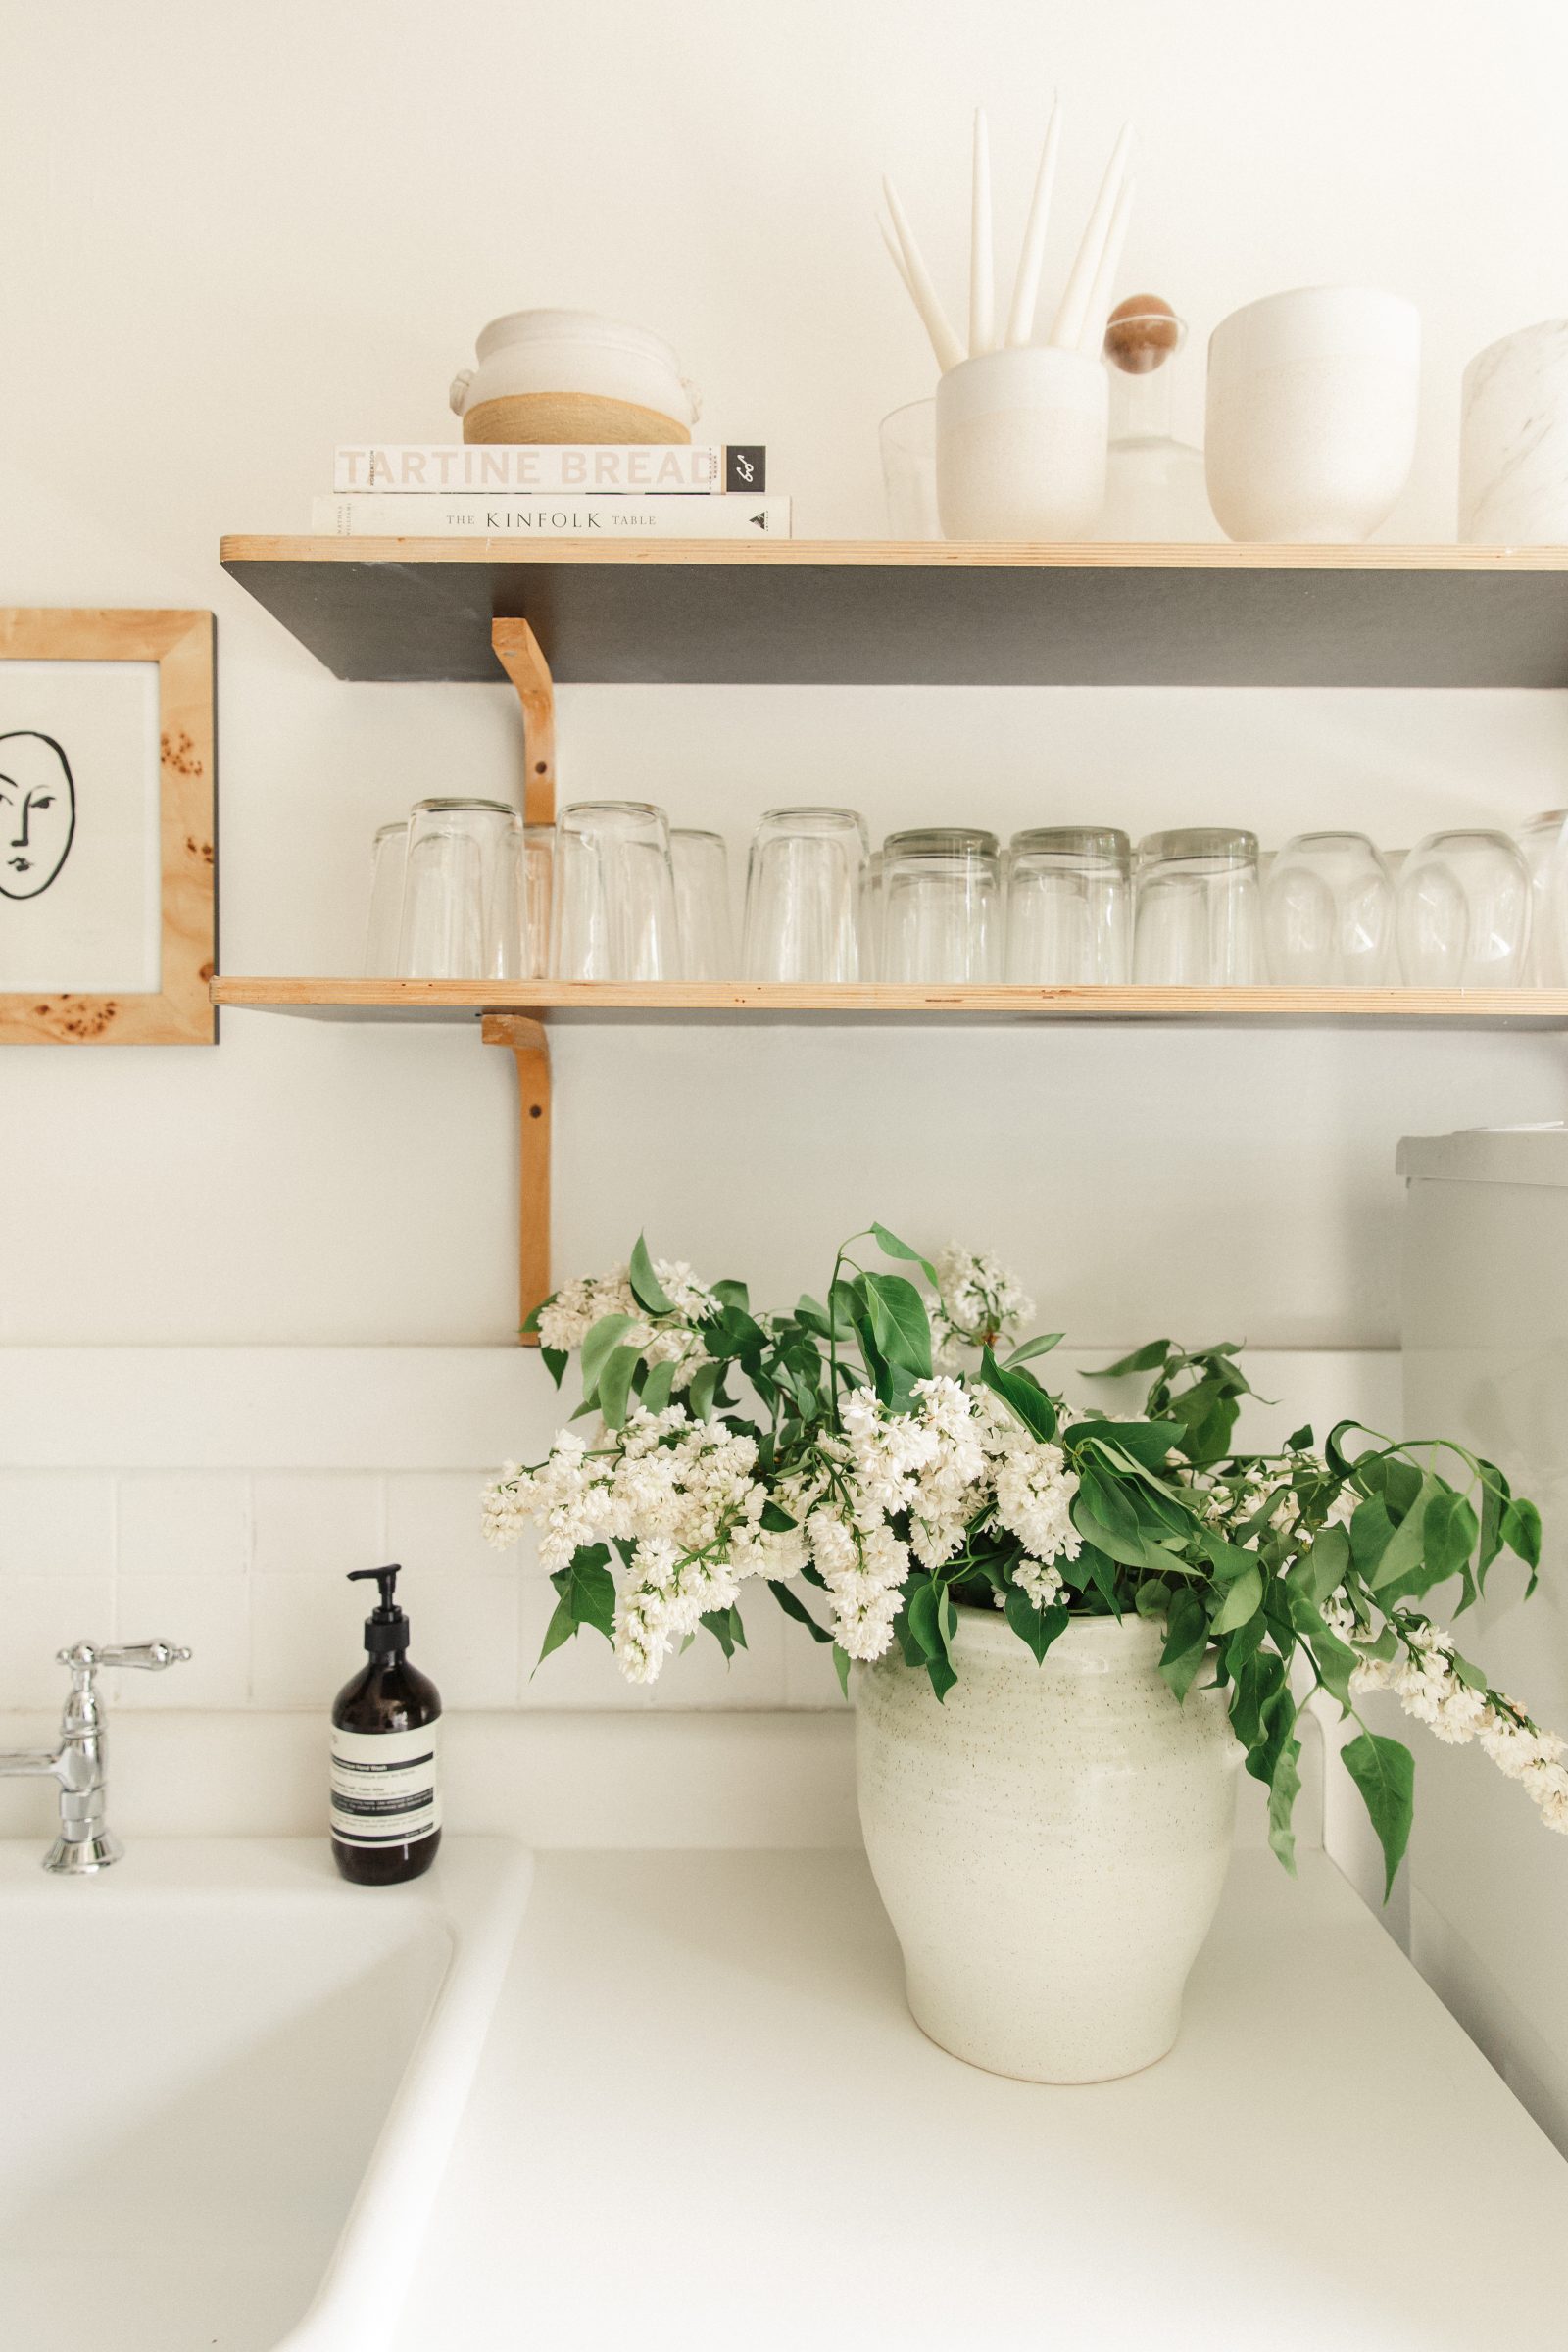
{Bottom images taken on an I phone and edited with VSCO – turned up brightness, added slight contrast, adjusted white balance to be a bit warmer }
The Editing Process
For me, editing is what really makes images stand out and give off their own signature style. It is crucial to get the images nice in camera so that you have a solid surface to start editing on without distorting said image even if you are using your phone. There are so many presets for sale and editing apps, but nothing is a one application solution. It all depends on the lighting in which you took the photo and often presets have to be edited more to fit the needs of your photo better.
Torrey: I use Adobe Lightroom for edits and Adobe Photoshop to remove details such as background elements like light switches, glare on glass, etc. I have created a lot of custom presets (that are not for sale at this time), but still have to edit photos differently based on their lighting. My basic process starts like this.
Adjust exposure, color and shadow: Add exposure, take out highlights, take out shadows, take out black, take out white, take out contrast and play around with the color settings. Add more green tones and more yellow without changing the look of the photo completely. These all help make the photo less contrasting and more neutral and then I apply a custom preset. If you want nice bright photos you just want to make sure you are not losing detail and making everything blown out.
Chrissy: I essentially edit my photos using the same steps to create a custom preset, but will occasionally add more contrast. When editing I Phone photos or even when I bring in my Canon photos to my phone I use the Lightroom Mobile App and VSCO. In VSCO I mostly just change the settings instead of using their filters. I add exposure, subtle contrast, change white balance to add more warm tones, occasionally will sharpen. If you do want a filer I really like the Legacy Series, particularly 04, 05, 06 but I turn them down a lot so they don’t look too edited.
I know this was a lot of information to digest, but I hope it helped answer some of your photography questions. My best advice if you are just starting out is to take your time playing around. So much good can come from messing with Lightroom or your camera settings and you might discover something you didn’t know you could do! There are also thousands of YouTube videos on camera settings and editing tips so I watch a ton of those when I can’t figure something out.


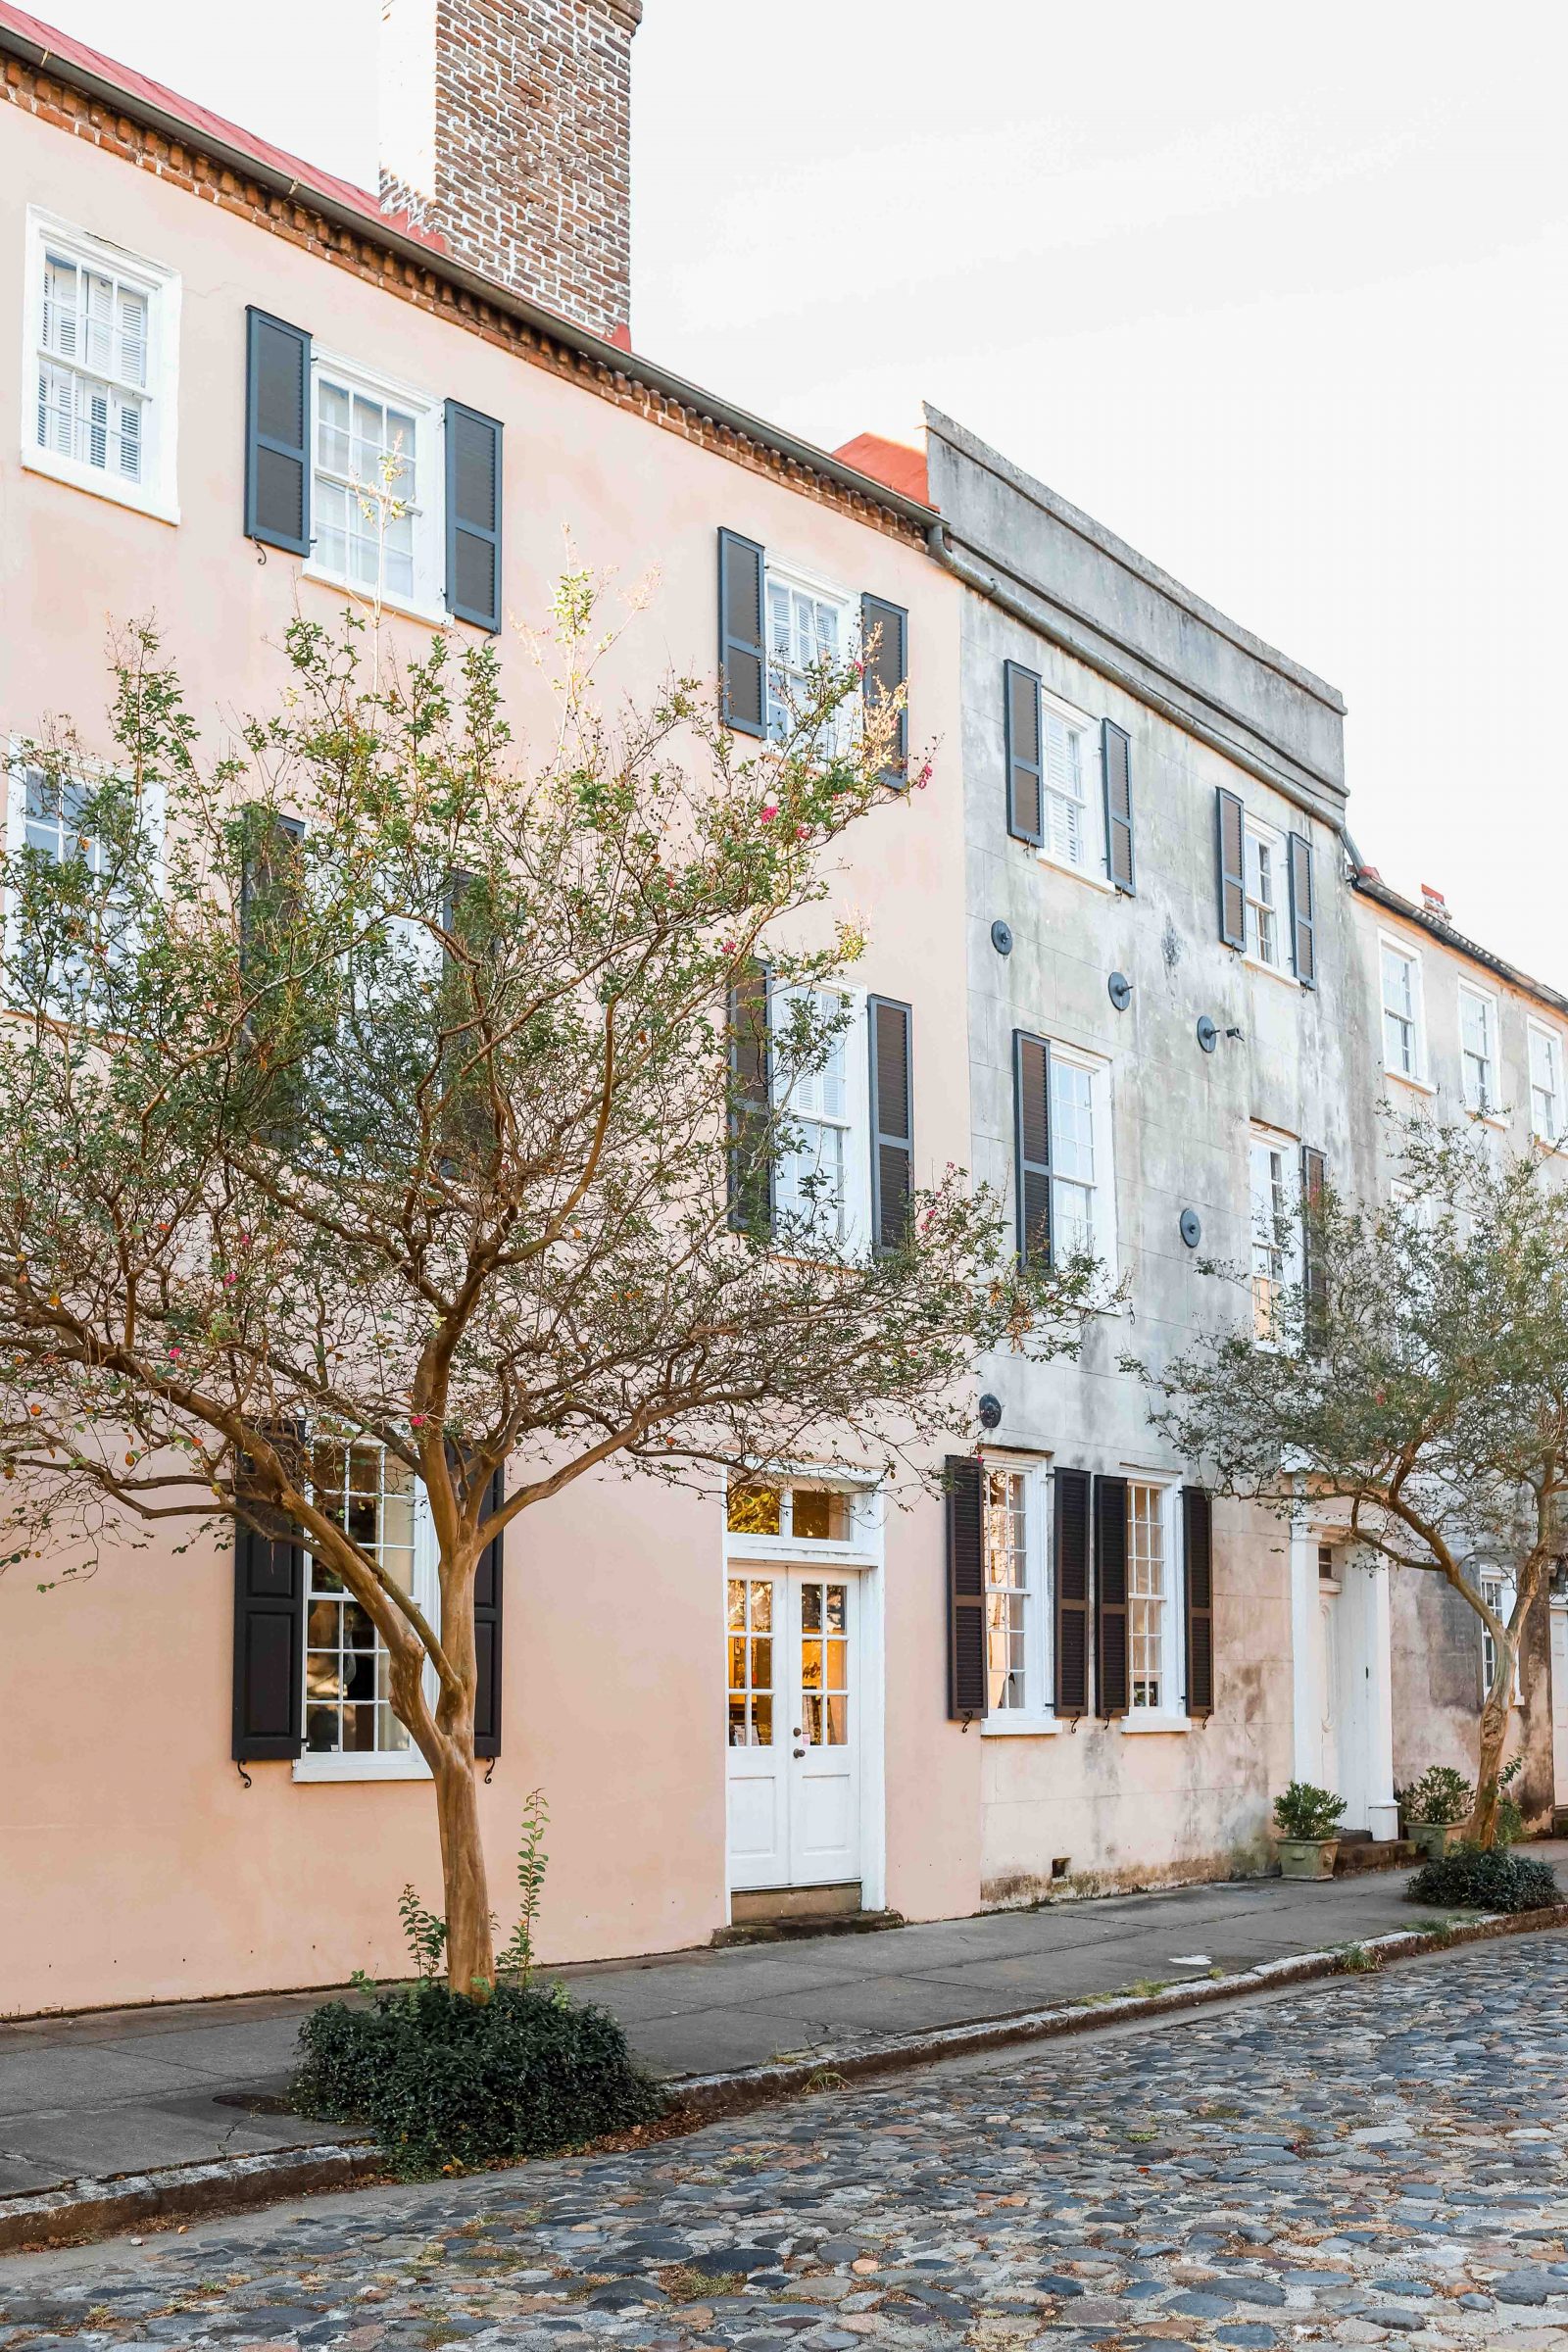
{Taken on my Canon 6D Mark II with a 35mm 1.4 lens This was taken in early morning light so I played around with the ISO until I got it light enough without being blown out}


Be the first to comment